How I Became A Wine Making King
Contrary to what pompous wine snobs might imply – making your own homemade wine is actually really easy. Of course, making a good or great fruit wine is a whole other story, but you’ve got to start somewhere eh?
I got into it largely because I have 37 feijoa trees on my section (no, sadly I don’t have some sort of orchard estate, just a corner site with two hedges) and you can only make so much jam. But I’ve also found winemaking to be a useful hobby to have as it doesn’t take up a lot of your time; is relatively inexpensive; and you get to drink booze at the end of it! How good is that?
Of course, when I started 15 years ago, I was regarded as some sort of outlier hippie freak but, seeing as we live in far more Enlightened Times when every second guy is brewing his own craft beer, it’s much more kosher these days.
Gear
Sure, you need a bit of gear to get started but it’s not like you’re building an F1 racecar; all we’re talking here is a 25 litre plastic bucket, two glass flagons, airlock and bung, tubing, some corks and a few chemicals. You can get all this from a homebrew supplier and the yeast too. Tell them what fruit you are using and they’ll suggest a strain that will suit it best.
If you have access to your own – or grandma’s – fruit then that’s a big saving too. Plus, if you can recycle your old wine bottles then that’s great as well. But the main thing you’ll need is time and patience – winemaking is all about flurries of activity at certain times then whole lots of patient waiting. Just like cricket – at least the stuff I played at school where it was all a mixture of fast deliveries and stumps cartwheeling about, then lots of sitting on the boundary idly watching other people bat.
Cleaning/Sterilisation
Dull, dull, dull! There is no other way to describe this task but it is the MOST important part of winemaking bar none. You are working with live cultures here, so impurities matter. Any Germy Jims in your equipment can kill your yeast, or at the very least taint the final product. So, don’t skimp on the elbow grease, make sure every item of equipment is sterilized at every single stage. But don’t worry, help is at hand. Thanks to the marvels of modern science, there are things like Campden tablets or sterlising powders you can get from your brewing agent that are so easy to use that you won’t even have to boil the jug.
But like STDs, prevention is better than cure! So, if you are recycling wine bottles, every time you finish one – rinse it out straight away. It is a million times easier to clean a swished-out wine bottle than to try and scrape out dried wine dregs from the internal recesses with a bottle brush. Believe me, I’ve had to do this too many times to ever suffer through it again!

Aerobic And Anaerobic Stages
Making wine has two stages really; the aerobic and anaerobic. The aerobic (or air-friendly) stage just means chucking your fruit into a 25 litre bucket, topping it up with water then slapping on a lid. With feijoa, I freeze them first as it helps to break down the fruit, whereas I boil stone fruits first to release the sugars – and get rid of the stones. After a day of “steeping” you add your yeast to create a “must”.
Once the must has a nice consistent foam in a few days or so, it’s time to go into the anaerobic (or air-unfriendly) stage. This is when you sieve off your must and put it into your glass flagon with about the same amount of sugar as the weight of fruit you started with. You need to use your airlock here as oxygen is now your enemy. Now, all you do is wait for the bubbling to slow to a stop.
Finings
Once your must starts to clear and a sediment forms at the bottom of the flagon you can add finings. Now some people use hideous-sounding finings made from fish, clay or glass but I just use banana. Just peel a couple then boil them for twenty minutes. Then sieve off the fruit and add the cooled juice water to your wine. Over the next day or two the banana juice will sink down to the bottom dragging all the impurities with it leaving just clear wine behind.
Racking
This is the term used for transferring wine from one flagon to another – and leaving all the sediment behind. There is some cool equipment out there to help you do that but I just use the old cheap way with a length of tubing and gravity. Simply sterlise your empty flagon and tubing then put the full flagon up higher than the empty one. Insert one end of the tubing into the full flagon near the bottom (but not too close to the sediment); suck on the other end of the tube until the wine starts to flow through; then hurriedly stick the other end of the tube into the empty flagon. Once you’ve transferred all the wine – except the crappy sediment stuff at the bottom – add some more sterilized water and seal up with your airlock again.

Bottling
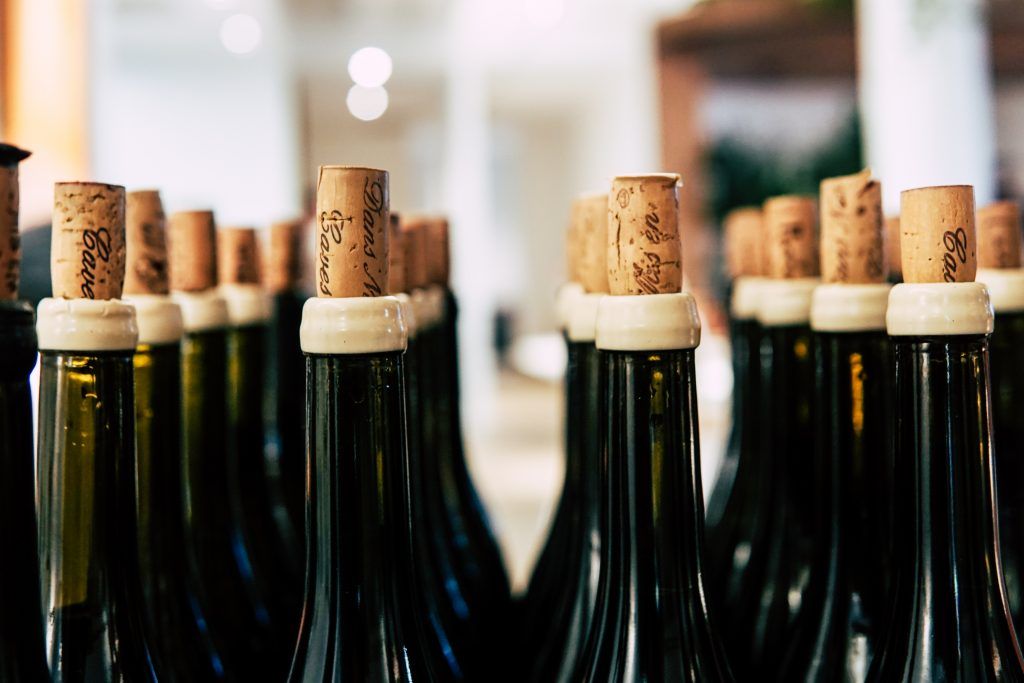
Once you’re sure all the bubbling has stopped (the drawback of banana is that it sometimes starts fermentation up again because of all the sugar) in your flagon, you’re ready to bottle. Sterilise all your wine bottles and corks then transfer the wine from the flagon into the wine bottles one at a time. Add a splash of sterilized water to each bottle before you cork it – you should be able to buy an inexpensive lever-based corker from your brewing suppliers store.
Label then stow the bottles somewhere safe and dark for a few months until you’re ready to drink it. Enjoy!

